


If you want to maximize the performance of your dash cam and enable parking monitoring, installing a hardwire kit is the best solution. However, incorrect installation can lead to power issues, causing the dash cam to turn on and off randomly. To ensure a smooth installation and avoid frustration, follow this comprehensive guide.
What is a Hardwire Kit?
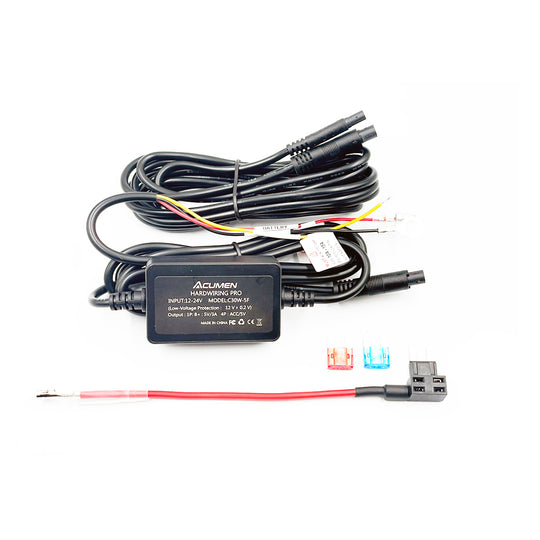
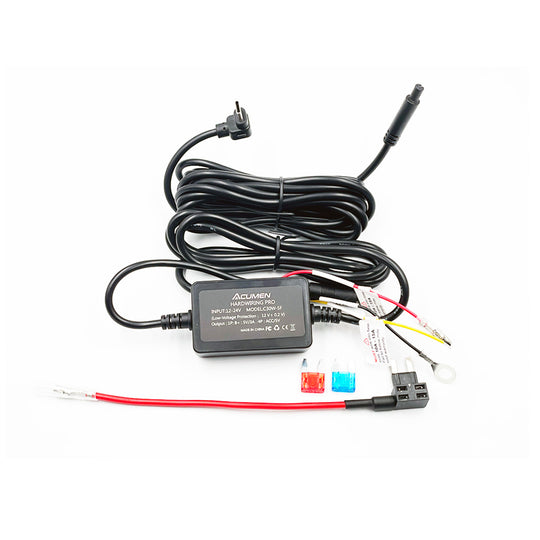
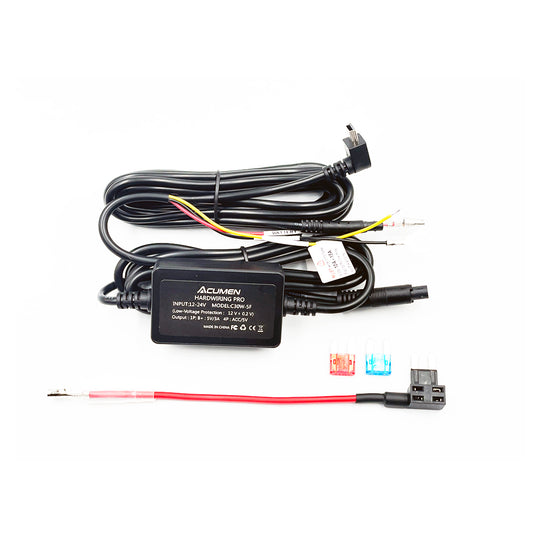
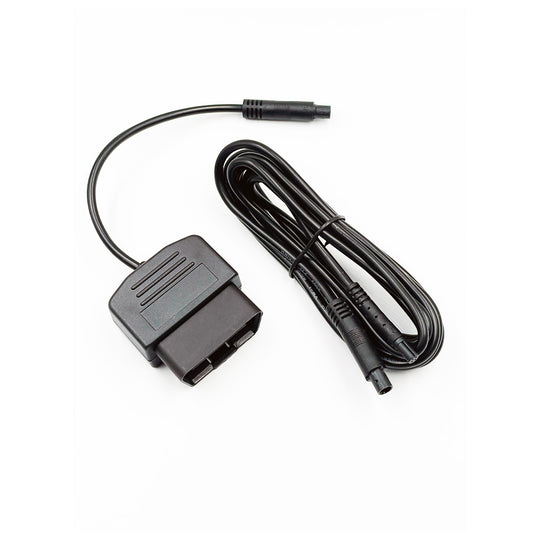
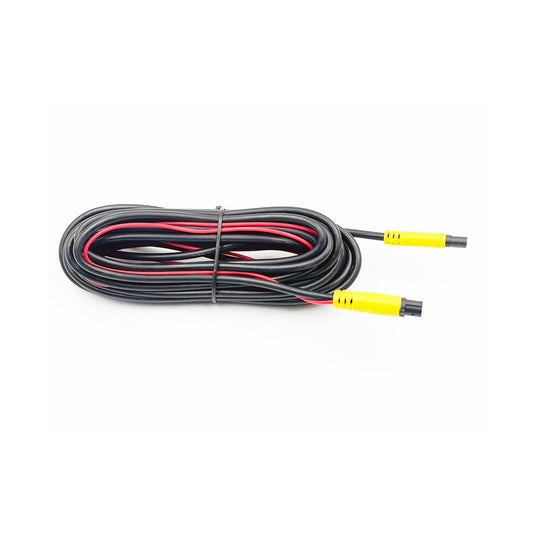
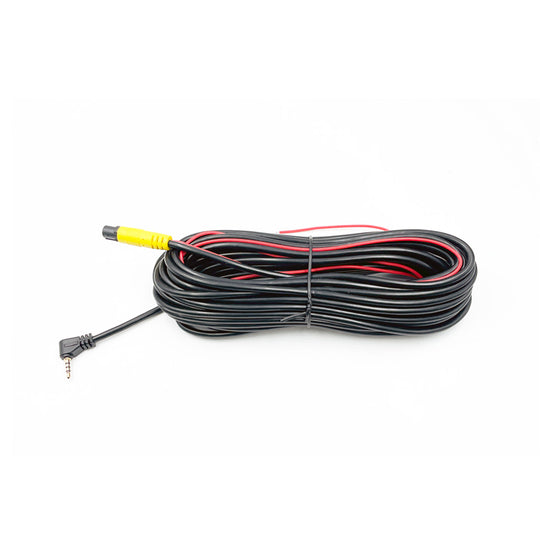
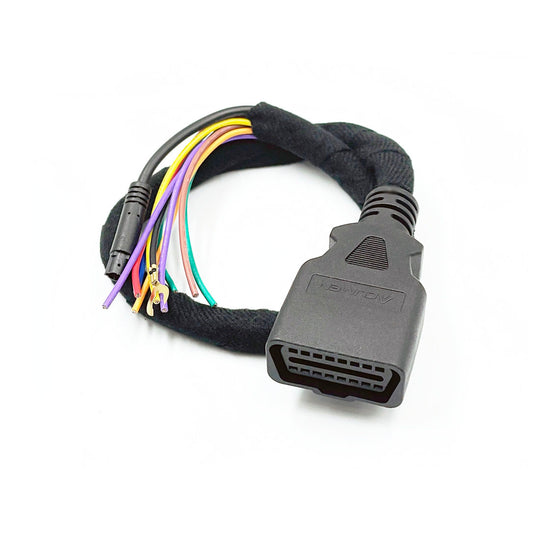
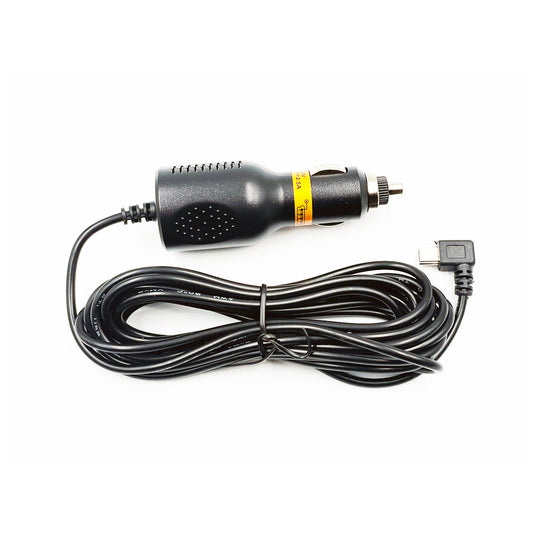
A hardwire kit is a device that connects your dash cam directly to your car’s fuse box, providing a constant power supply. Unlike a standard car charger, which only powers the dash cam when the engine is running, a hardwire kit allows your camera to operate even when your car is turned off. This is crucial for enabling advanced features like parking mode and motion detection.
Why Use a Hardwire Kit Instead of a Car Charger?
Will My Dash Cam Drain My Car’s Battery?
Step-by-Step Guide to Installing a Dash Cam Hardwire Kit
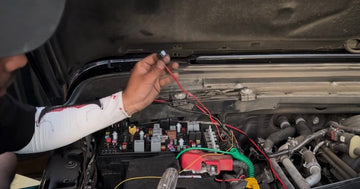
Step 1: Locate the Fuse Box
 Your vehicle’s fuse box location varies by model. Common locations include:
-
Under the glove compartment
-
In the trunk
-
Under the hood (engine bay)
Refer to your vehicle’s user manual for the exact location.
Step 2: Identify the ACC and Constant Power Fuse Slots
Use a multimeter or a circuit tester to find the appropriate fuse slots.
-
Finding the ACC Fuse Slot: Turn the ignition to the “ON” position and test each fuse. The correct slot will only have power when the ignition is on.
-
Finding the Constant Power Fuse Slot: Turn the ignition off and test each fuse. The correct slot will always have power, regardless of ignition status.
Important: Avoid tapping into critical safety components like airbags, engine modules, or brakes. Instead, use accessory or window fuse slots.

Step 3: Ground the Hardwire Kit
Locate a non-coated metal surface near the fuse box and securely attach the black ground wire using a screw or bolt.
Step 4: Connect the Wires to the Fuse Box
-
Red Wire (Constant Power): Connect this to a fuse slot with a power rating of 15A or lower.
-
Yellow Wire (ACC Power): Connect this to an ACC fuse slot that only receives power when the ignition is on.
Use an add-a-fuse tap for a secure connection and ensure a proper fit inside the fuse box.
Step 5: Finalize the Installation
-
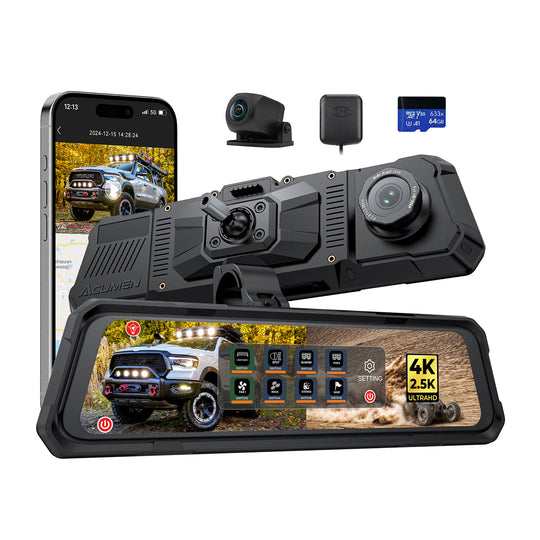
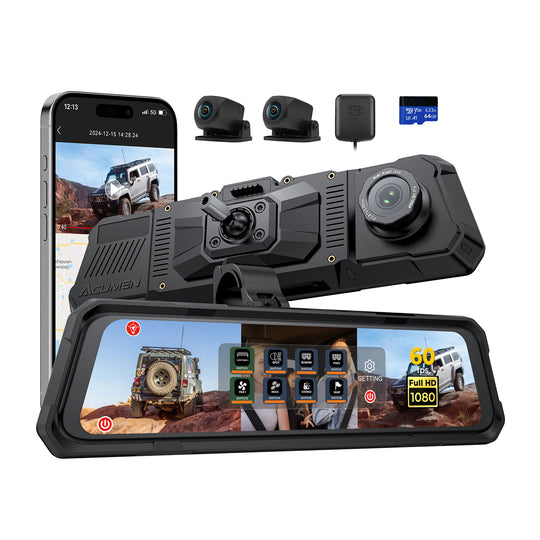
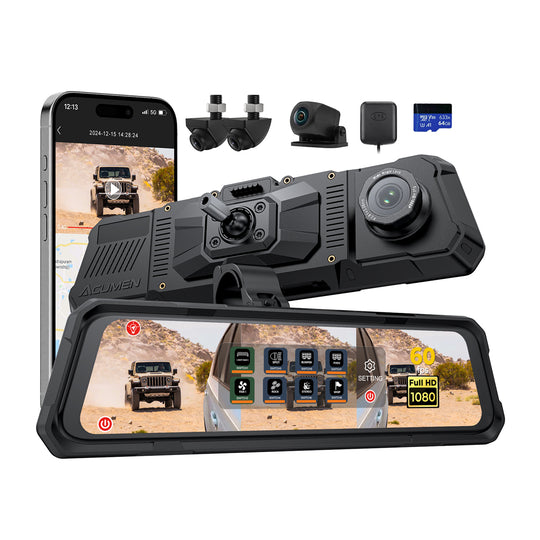
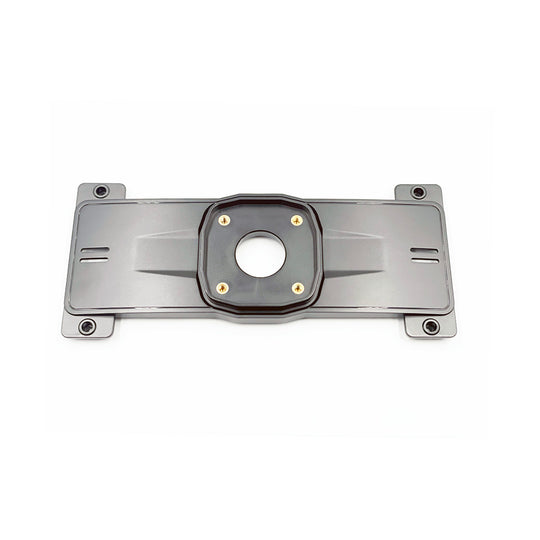
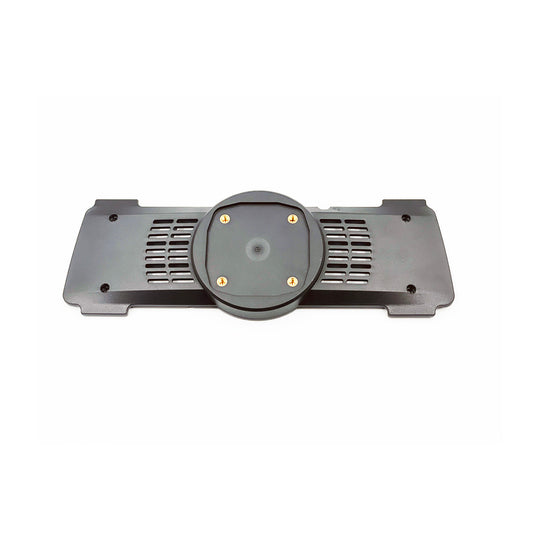
Plug the power cable into your ACUMEN 4K Rear View Mirror Camera or dash cam front and rear system.
-
Turn on the ignition and verify that the dash cam powers on.
-
Turn off the car and confirm that the dash cam enters parking mode.